Vending QR retrofit guide

How to add QR payment to a vending machine without rebuilding the whole controller.

Use this path when customers should scan a QR code, payment should be confirmed by QuLink or your own checkout, and the vending machine should receive a vend command with result upload.

QR payment pathVend triggerPhoto-based board matchingResult upload
QR payment vending machine retrofit control board

Project fit

When this guide matches your vending project

Buyer signals

  • Existing vending machines need scan-to-pay or wallet payment.
  • Your system needs payment confirmation to trigger vend.
  • The machine should upload vend result, online status, or fault events.
  • You want to start from photos before choosing the exact board.

What to send first

  • Machine photo or existing board photo
  • Interface or wiring note if available
  • Target action after API command or payment
  • Whether telemetry or data upload is required

Not the right fit if

  • You only need a pure payment acquiring account and no machine-side control.
  • There is no physical machine action after payment, booking, or API approval.
  • The project has no machine photo, board photo, wiring note, or interface clue yet.

Integration model

QR payment is only the approval step; the board handles the machine action

QuLink maps payment approval to MDB, relay, serial, or cabinet-controller behavior and sends the vend result back to your server.

Best first evidence
machine photo, payment module photo, MDB/cabinet board photo
Trigger source
QuLink QR payment, wallet callback, payment app, or server approval
Machine action
MDB vend, relay trigger, serial vend command, cabinet-controller profile
Data returned
payment reference, vend result, online status, fault event

Workflow

From machine interface to API-controlled result.

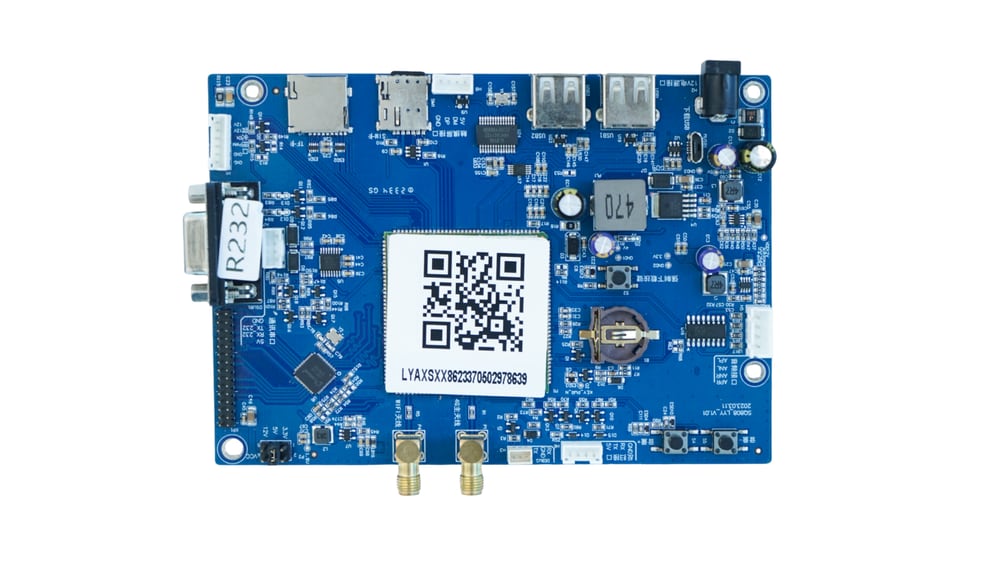
Share machine photos

Send the vending machine, current payment module, and controller photos first.

Confirm the interface

Check MDB, cabinet controller, relay, serial, or mixed wiring.

Map QR to vend

Define product, price, slot, payment reference, timeout, and result behavior.

Test sample

Run one real vend test before rollout or OEM customization.

API example

A clear server command or webhook for the machine-side action.

The exact command fields depend on machine interface, firmware profile, and whether payment or your own app triggers the action.

POST /v1/devices/VEND-208/commands
{
  "command": "dispense",
  "source": "qr_payment_confirmed",
  "machine_action": {
    "interface": "mdb_or_relay",
    "slot": "B12"
  }
}

Start the project

Send the first machine details before writing a full spec.

Send vending photos, payment flow, expected country, and whether you need QuLink QR payment or your own callback.

Useful first message
  • Machine type and target country
  • Machine photo, board photo, or wiring photo
  • Action after API command or payment
  • Data upload and estimated quantity

FAQ

Questions buyers usually ask before a sample test.

Can this start from just photos?

Yes. Photos often identify whether the next step is MDB, relay, serial, cabinet controller, or OEM review.

Can we keep our own checkout?

Yes. Your checkout can approve payment and call QuLink for the machine-side action.

Do all vending machines use the same board?

No. The correct board depends on the machine interface, current controller, and rollout goal.